Table of Contents
Ubuntu 18.04 Server amd64
For the old guide, visit https://wiki.adopisoft.com/doku.php?id=x64-server
Installation
Important: The following steps require basic skills on computer OS installation. Please follow the steps and respond to prompts accordingly.
Please follow the steps to build your coin operated wifi hotspot using Ubuntu Server 18.04 LTS amd64:
1. Command Line Installation
Command line installation is used when software image is not available for your board/machine. First, you need to have access to the command line of your board/machine. In this guide, we will use our customized ubuntu iso Ubuntu Server 18.04.3.
Flash the iso file to your Flash drive using rufus, unetbootin, or balena.
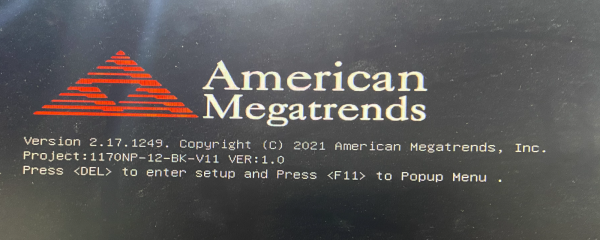
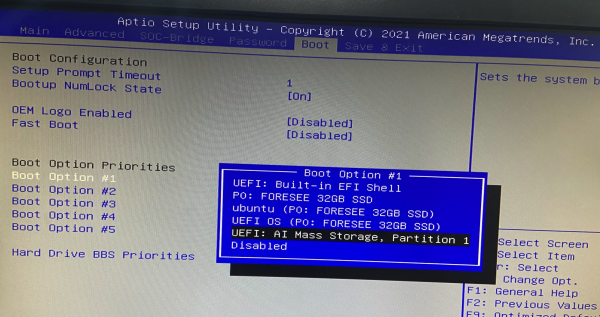
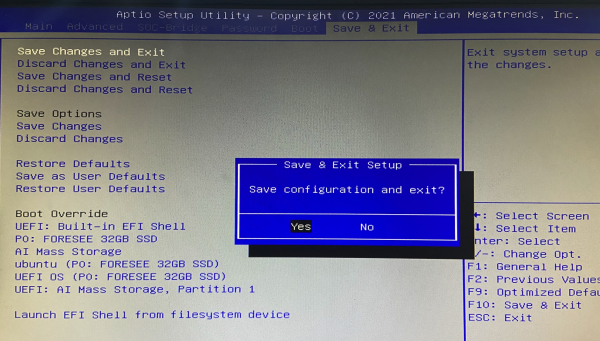
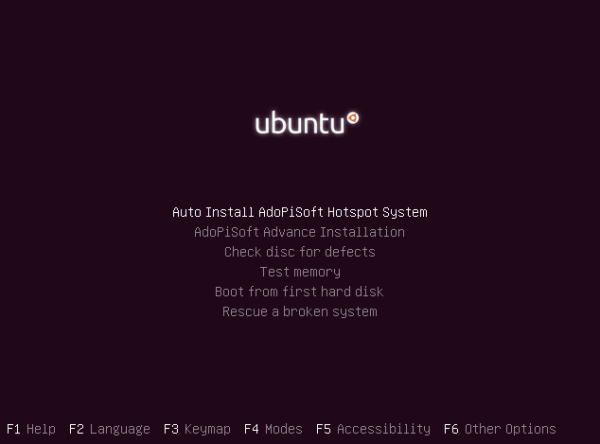
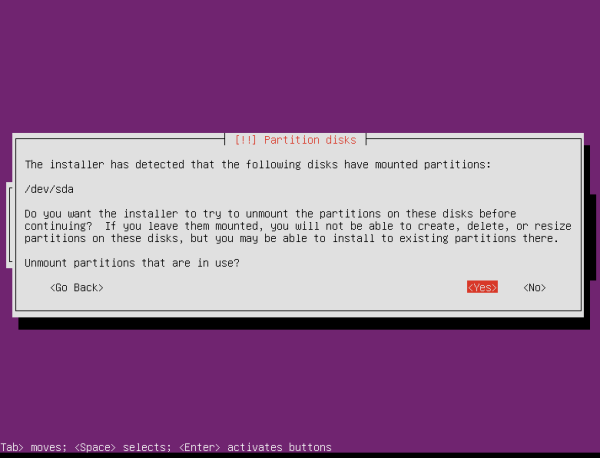
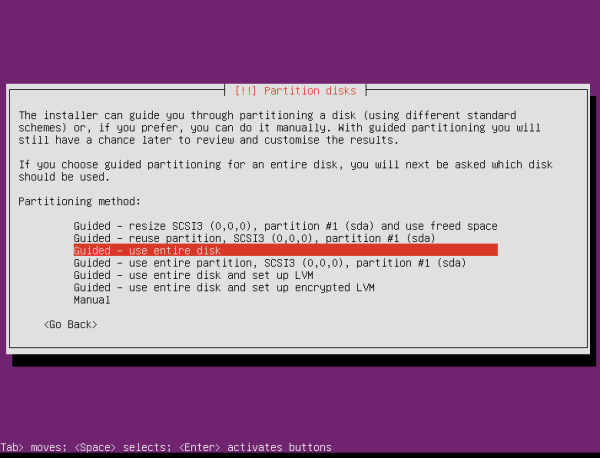
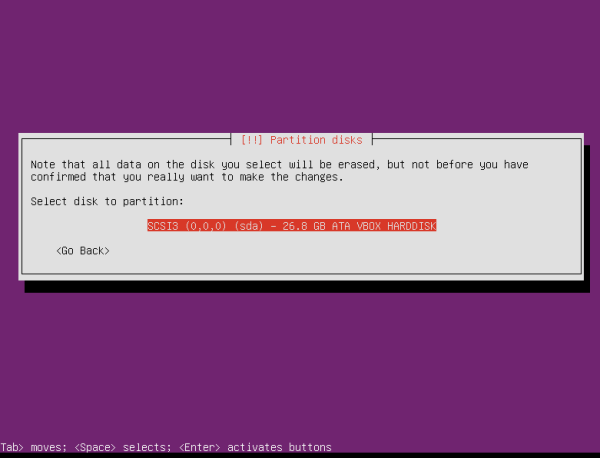
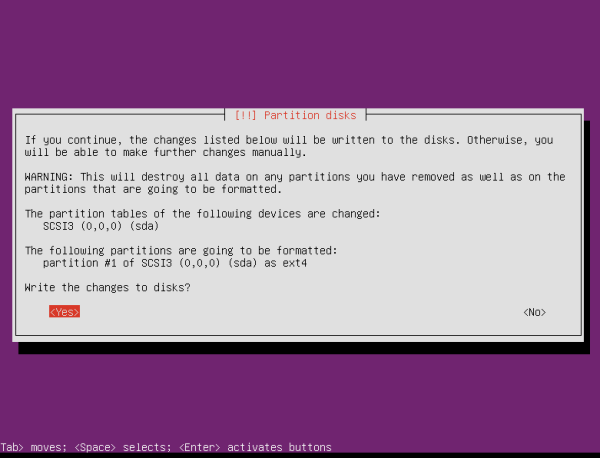
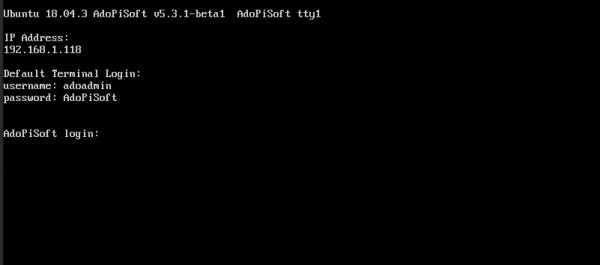
Insert the flash drive into your PC. Access bios setting and set the boot priority to mass media or flash drive first. Read and respond to installation prompts accordingly. After the installation, it should show the login screen with the IP Address of your machine.
- Connect your Machine to modem, make sure that it can connect to internet during installation.
- Download the ISO file Ado-5.1.3-beta2-server-amd64.iso and flash it to your flashdrive using rufus, unetbootin or balena etcher.
2. Setup Wizard
Given you have a mobile phone or another PC connected to the same network with your pc/machine, open a browser and enter your board/machine's IP address.
Example:
http://192.168.1.118
Setup Account
- Type your password
- Confirm your password
- Click Save Changes button
NOTE: If you encounter error about UUID, just ignore it and proceed.
Select Board
- Choose your board/machine type. Select Generic x64 Machine.
- Click Save Changes
Setup WAN
- Select your WAN network interface. The system will automatically recommend the interface connected to your network.
- Click Set as WAN Interface button
- Configure your WAN interface (Dynamic IP or Static IP). If not sure, check Dynamic IP Address.
- Click Save Changes button
Setup LAN
Important: Make sure your board/machine has two network interface. For boards without wifi interface, you have to insert the USB to LAN adapter first.
- Choose the network interface for your LAN. It can be the wifi interface (wlan0 or wlpsxxx) or any ethernet interface.
- Check Enable Captive Portal
- Set alias to LAN Interface or Built-in WiFi (or anything you like)
- Disable/Uncheck Dynamic IP Address
- Set Statc IP Address to 10.0.0.1
- Set Network Prefix to 20
- Check Use System DNS Server
- Check Enable DHCP Server on this interface
- Set DHCP Pool Start to 10.0.0.10
- Set DHCP Pool End to 10.0.15.254
- Click Save Changes button
- Click Done or Finish button.
IMPORTANT: After the successful setup, update the software to latest version. Go to System→Device page and click Check Updates.
