Table of Contents
Wireless Sub Vendo
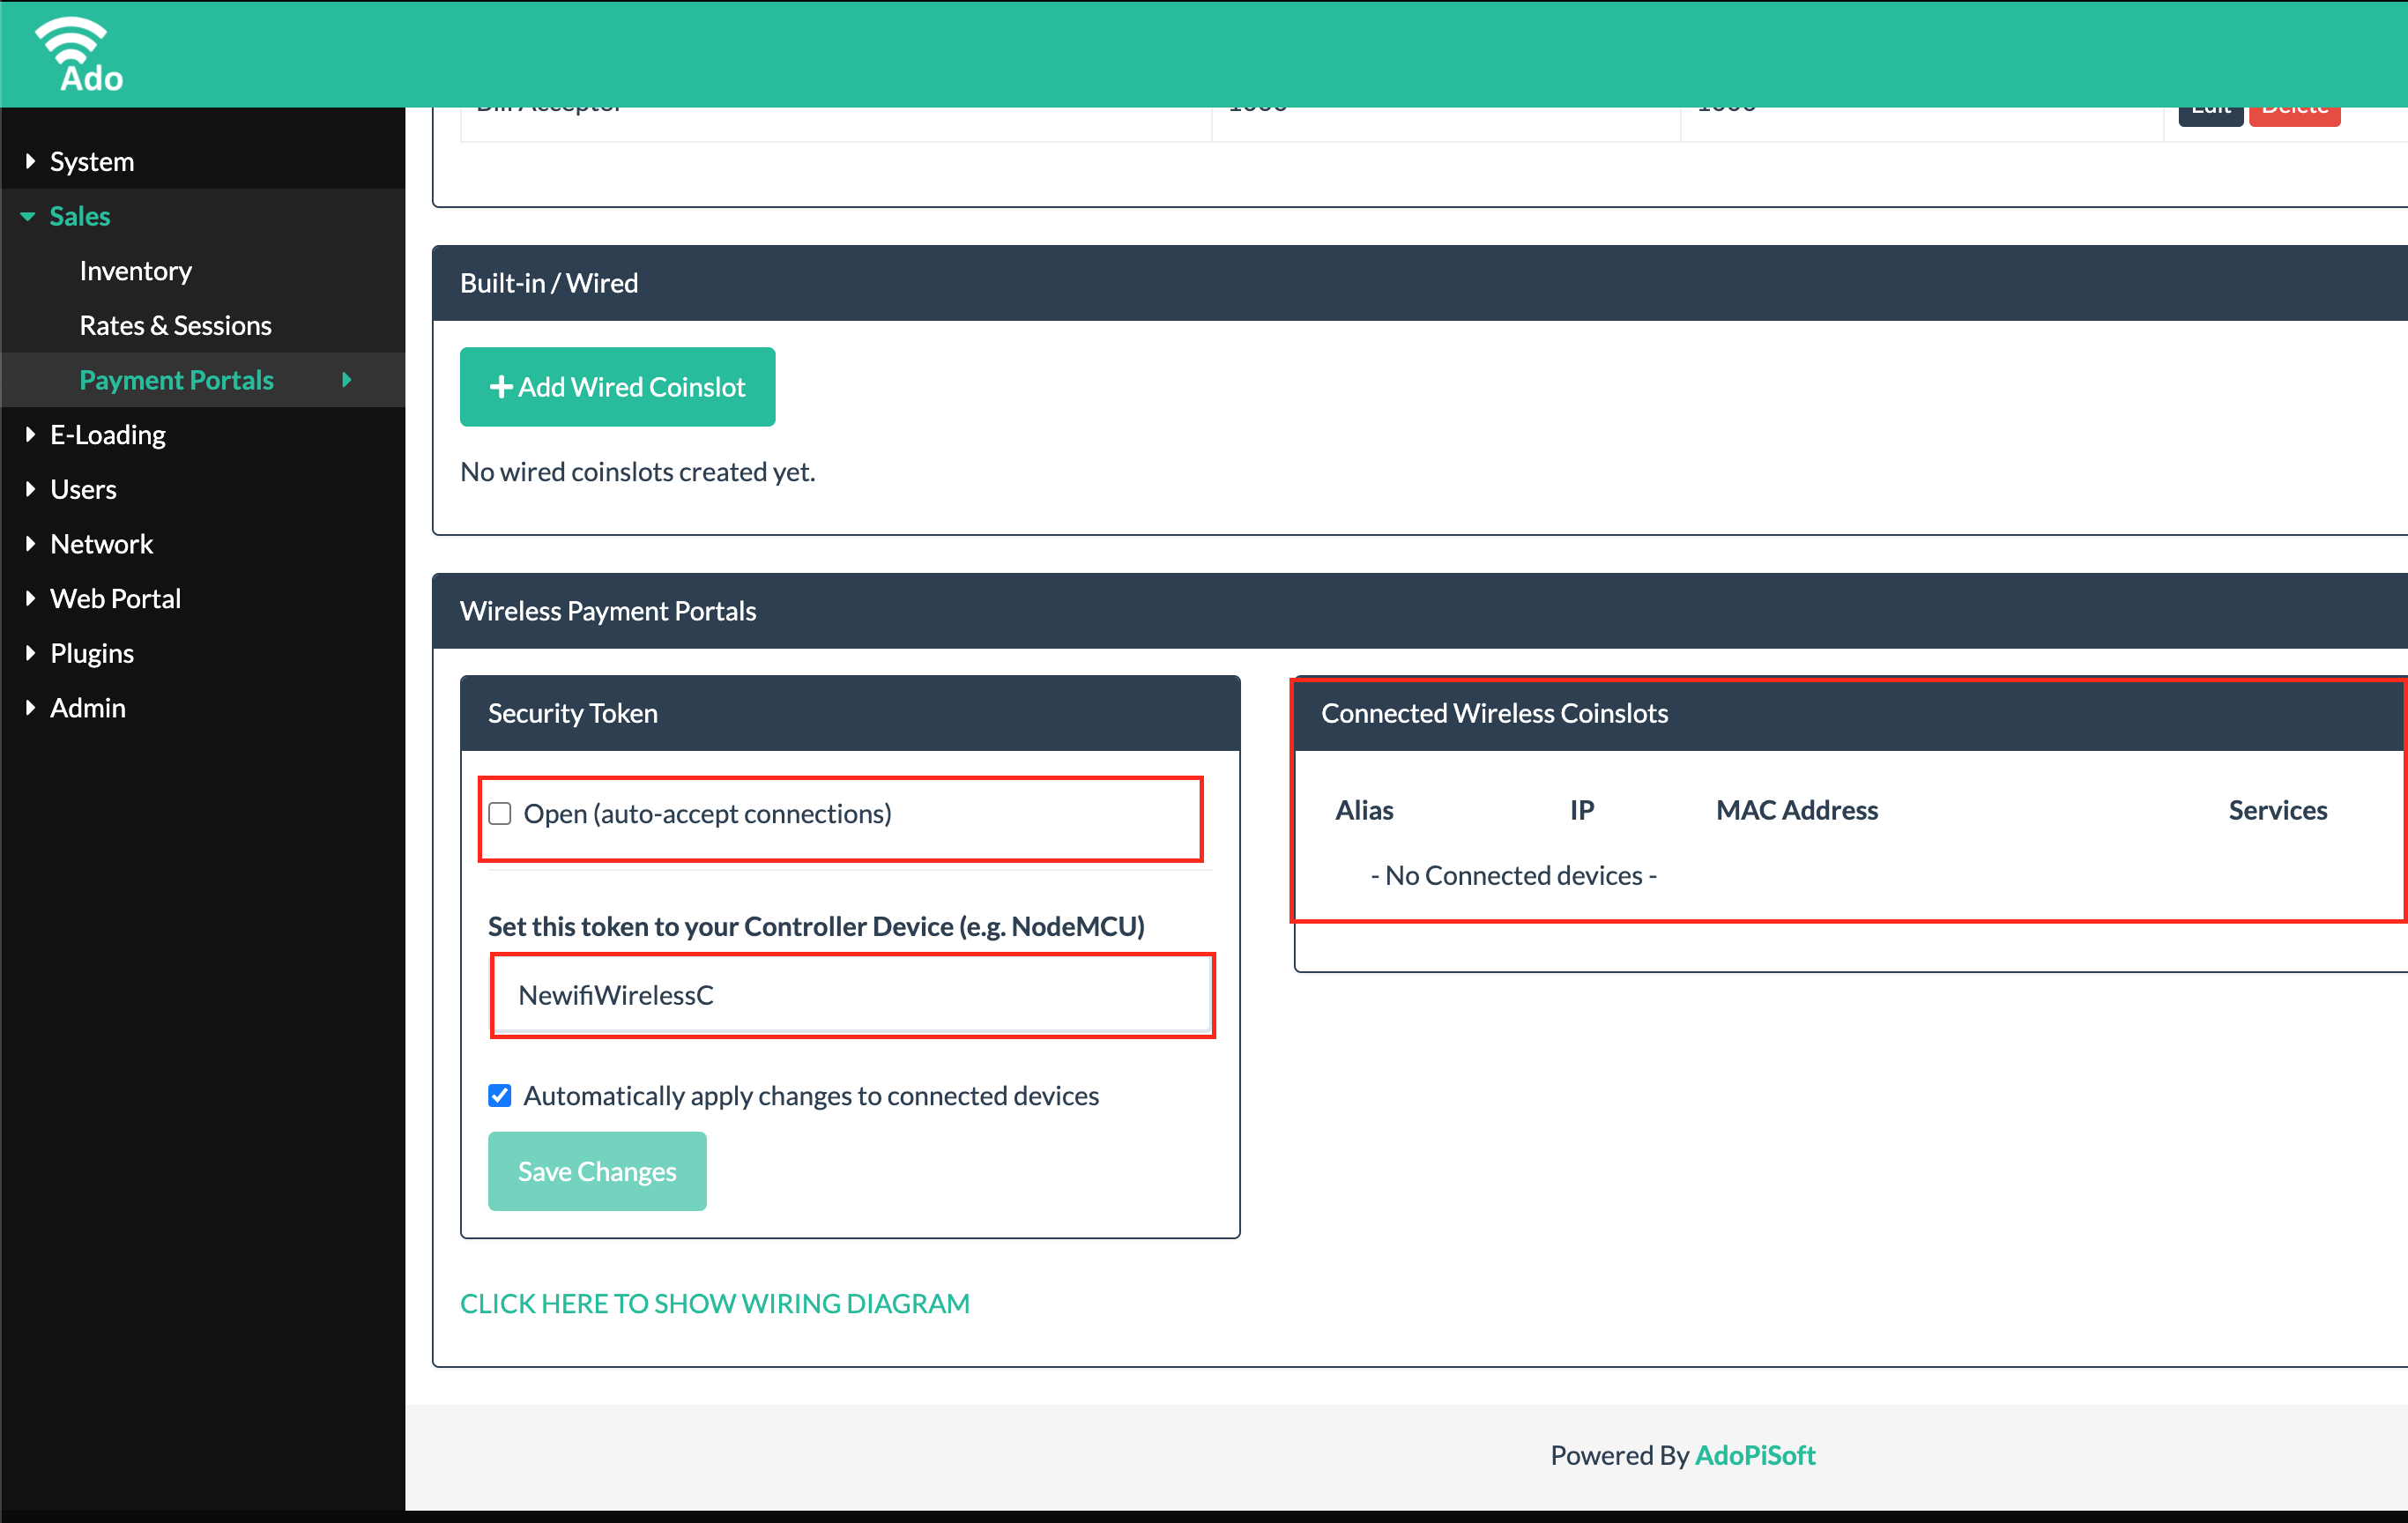
Wireless sub-vendo/coinslot uses ESP8266 board as the controller. You can also connect LCD and keypad to the ESP8266 board for E-loading setup. The ESP8266 will automatically connect to the machine given that it has the correct ssid config and has matching token or encryption key. Connected ESP8266 devices will show in the Sales→Payment Portals→Wireless Payment Portals page. Click on the edit or pencil icon on the device to show the LCD menu settings.
Installation
Please follow the steps to build your wireless sub-vendo:
Flash ESP8266
Supported ES8266 boards:
- WEMOS
- NodeMCU
Two ways to flash:
Using PC
Softwares to Download:
- Install PyFlasher
- Download ESP8266 Firmware . Choose the latest bin file. The one suffixed with D8-reset is if you want to use D8 for physical reset button. The one suffixed with D8-buzzer is if you want to use D8 for buzzer module.
After downloading the needed softwares, connect the ESP8266 Board to your PC and determine the COM Port.
Open PyFlasher. Set proper COM PORT.
Browse the ESP8266 firmware you downloaded (esp8266-firmware-xxxxx.bin).
Set the Baud Rate to 115200.
Using Android Phone
Softwares to Download:
- Install ESP8266 Loader
- Download ESP8266 Firmware . Choose the latest bin file. The one suffixed with D8-reset is if you want to use D8 for physical reset button. The one suffixed with D8-buzzer is if you want to use D8 for buzzer module.
After downloading the needed softwares, connect the ESP8266 Board to your Android phone via OTG. Make sure you enable the OTG setting on your android.
Open ESP8266 Loader App and tap Allow on the permission prompts.
Wiring Diagram
Basic Diagram
Wiring Diagram With Keypad E-loading
Materials needed:
- NodeMCU or WEMOS
- Universal Coin Acceptor
- Arduino Uno or Nano (Flashed with this firmware )
- 4×3 Membrane Keypad Module
- ST7920 128×64 LCD Display Module
- Bill Acceptor
Important Note: All the modules should be in common grounds, or use common power adapter. For bill acceptor, don't directly connect the inhibit wire into the ESP8266 as it can damage your board. Use a relay to ON and Off the ground connection to the inhibit.
PIN D8 can be use for Buzzer or for Physical Reset button (use the correct binary file, suffix with D8-reset or D8-buzzer).
For a Reset Button, connect to 3V on button press. When pin D8 is HIGH, payment que session will be cancelled same as clicking “Cancel” on the captive portal payment que.
For a Buzzer, it usually has 3 wires 2 for power(+/-) and 1 for input which is PIN D8. Please refer to Buzzer module guide
Payment Portal Settings

Some wireless subvendos find it hard to connect to long WiFi SSID name and/or with special characters. Please make the Wifi SSID simple and short for the subvendo to easily connect.
Also, some token character combinations will not work. If the subvendo cannot connect, try using different character combinations for the token.
Open (auto-accept connections)
By default, your NodeCMU is set to auto scan. It means it will automatically scan wifi ssids and attempt to connect. If this setting is turned ON, your main vendo will automatically accept the connection request from sub-vendo. You will only turn this ON for setup purposes. After the sub-vendo has connected to your main vendo, fill the Token field and check/tick Automatically apply changes to connected devices and hit Save Changes
Security Token
Security token is the pre-shared token by your main vendo and your sub-vendo/s. Main vendo will only accept connection request from sub-vendos if they have matching security token, unless (auto-accept connection) is enabled.


